
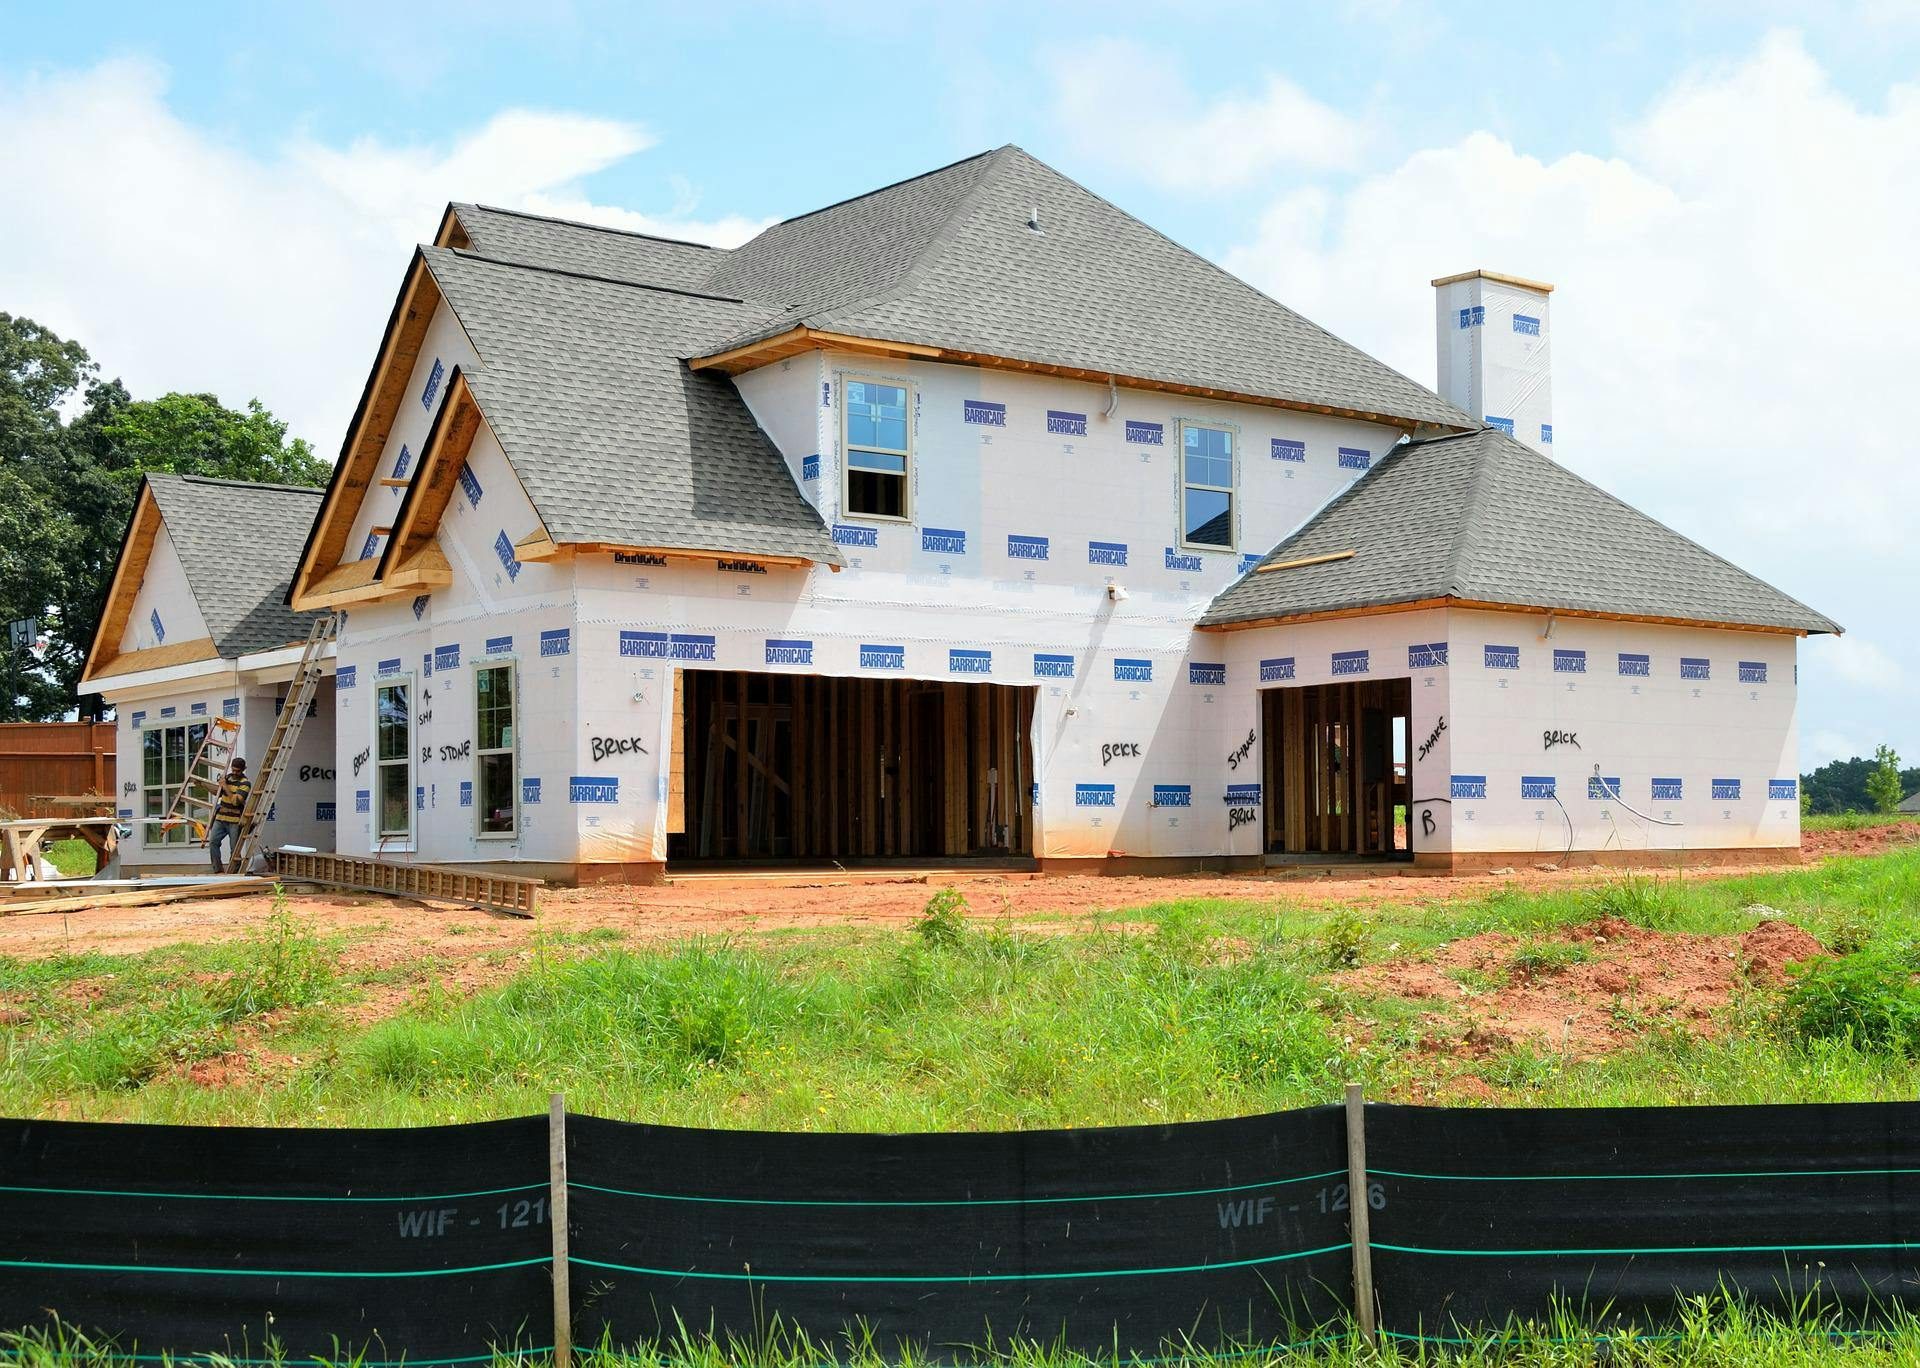
Stone veneer is a thin layer of stone that’s applied to walls to make them look like masonry. Veneer comes with most of the benefits of masonry, such as appearance and durability. But, it’s notably less expensive and lighter.
The installation process for veneers is similar to that of stucco, and to an extent, siding. In this article, we’ll cover the basic steps we take when installing stone veneers.
First, the moisture barrier is installed to create a drainage plane. Next, a wire lathe is attached to the wall and a scratch coat of mortar is applied to it. After that, we apply additional mortar to the veneer itself and press it onto the wall. And finally, the spaces between the stones are grouted and the finished product is cleaned up.
Moisture Barrier and Drainage Plane
The first step of creating a drainage plane is attaching a weather-resistive barrier (WRB) to the wall. In addition, flashing is applied around doors, windows, and other openings. Together, these will prevent moisture that gets into the wall from making its way further into your home.
WRBs stop water from soaking into the wooden frame of your home. Flashing redirects water away from the most vulnerable spots. They may be the first layer applied to your walls, but they’re also the last line of defense for your home when it comes to moisture intrusion.
A weep screed is also installed at this point to complete the drainage plane. Weep screeds are systems at the bottom of the wall with holes that allow moisture to drain, or weep, out. Air can enter through these holes to dry out the wall cavity, as well. And, a rain screen sits on the shelf of the weep screed, adding another layer of protection.
Wire Lathe and Scratch Coat
With the drainage plane in place, the next step is to cover it with a wire lathe. The purpose of the wire lathe is so the mortar has something to attach to. Without it, the weight of the veneer, although less than that of full-thickness masonry, could pull the mortar off the wall.
The scratch coat is the first layer of mortar. It’s applied directly to the wire lathe. Once applied, the surface of the coat is scratched so that the second layer of mortar (on the back of the veneer) can grip it better. It works the same way when used for veneers as it does when used for stucco.
Mortar and Stone Application
Once the scratch coat has dried, it’s time to add the veneer to the wall using a second layer of mortar. This layer is applied to the back of the veneer and, while still wet, is pressed against the scratch coat to form a bond.
When attaching the veneer to the wall, we follow a few best practices. First, we start at the corners. Since veneer is thin, special corner pieces are required to make the corners look natural. Starting here also helps to prevent the need for cutting pieces to make them line up with the outward-pointing corner joints.
Of course, in many cases, pieces will still need to be cut so that the veneer fits perfectly on your walls. But, by positioning these cut pieces at the inward-pointing corner joints, the cuts can be effectively hidden.
It’s also worth noting that veneers can come in either individual pieces or pre-set panels. The application process is basically the same for both. But, they each have their pros and cons.
Individual or Panelized Stones
Individual stone or brick veneer pieces are just as they sound. They are single pieces, that are applied to the wall. This allows for more creativity when placing the pieces. But, the installation also takes more time and problems can arise if not performed by trained professionals.
Panelized stones or bricks are when the veneer is pre-applied to mesh panels. The panels with the applied veneer are then attached to the wall using the same method as the individual pieces. With this option, the installation goes by quicker, but the veneer pattern has already been set beforehand.
The veneer panels can also be cut just like the individual pieces. And, these cuts can be hidden in the inward-pointing corners the same way.
Grouting the Joints and Cleanup
Depending on the style of the veneer, grout is applied between the pieces. Some veneers mimic the “dry-stacked” style, which is meant to appear mortarless. But, in most cases, grout is going to be added to the veneer to complete the look and feel of the wall.
Cleanup begins at the same time that grouting is being performed. This is done because the cleanup needs to take place after the grout has begun to dry, but before it dries completely. When partially dried, the excess grout can be scrubbed off the surface of the veneer.
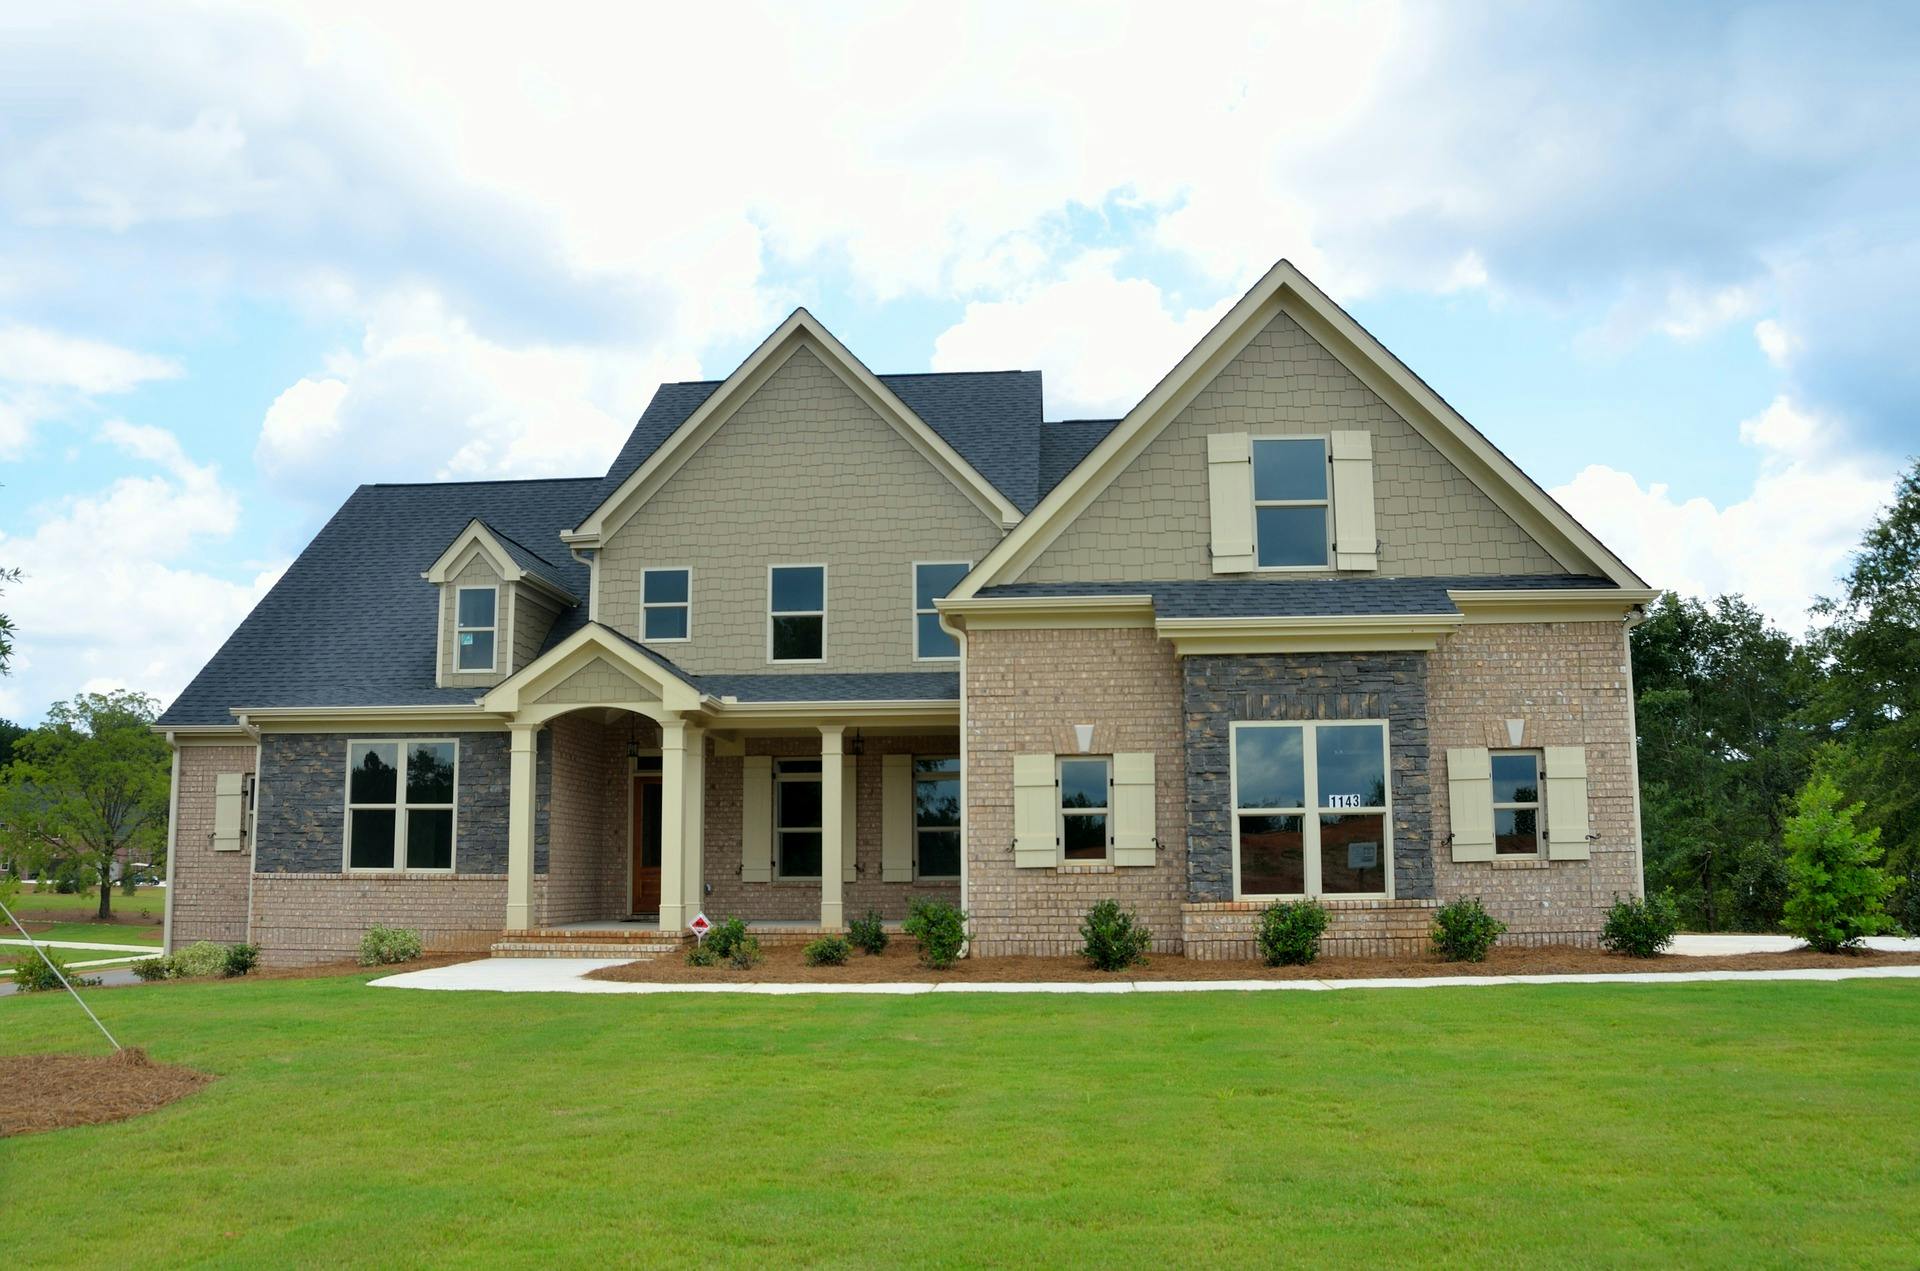
Hire an Experienced Home Exterior Contractor
Stone and brick veneers are popular exterior options for many homeowners. They look and feel just like real stone and brick, and in some cases, they are real stone and brick that have simply been cut thin. Manufactured options are also available and tend to be cheaper.
Whether your veneer is stone or brick, natural or manufactured, or individual pieces or panelized, the installation process is very similar.
First, a moisture barrier is installed and a drainage plane is created. Next, a wire lathe is attached to the wall and a scratch coat of mortar is applied. Then, the veneer itself is installed with additional mortar. And finally, the grouting and cleanup process is performed.
Are you considering stone or brick veneer for your home? If so, contact Friel Exteriors today. Our team of trained professionals has the knowledge and experience needed to install your veneer the right way.


